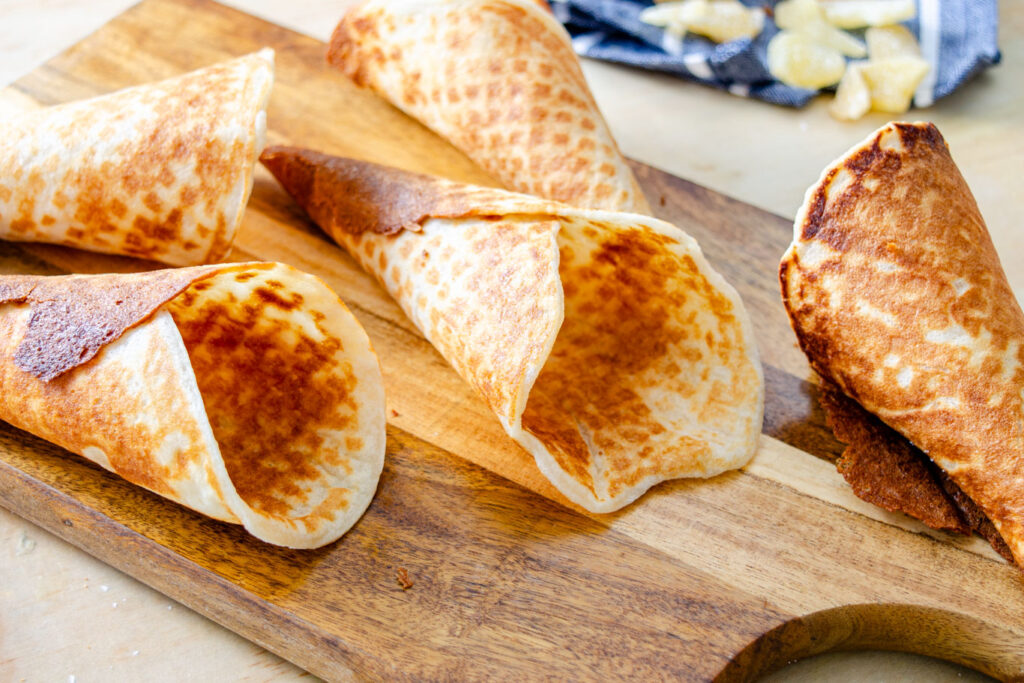
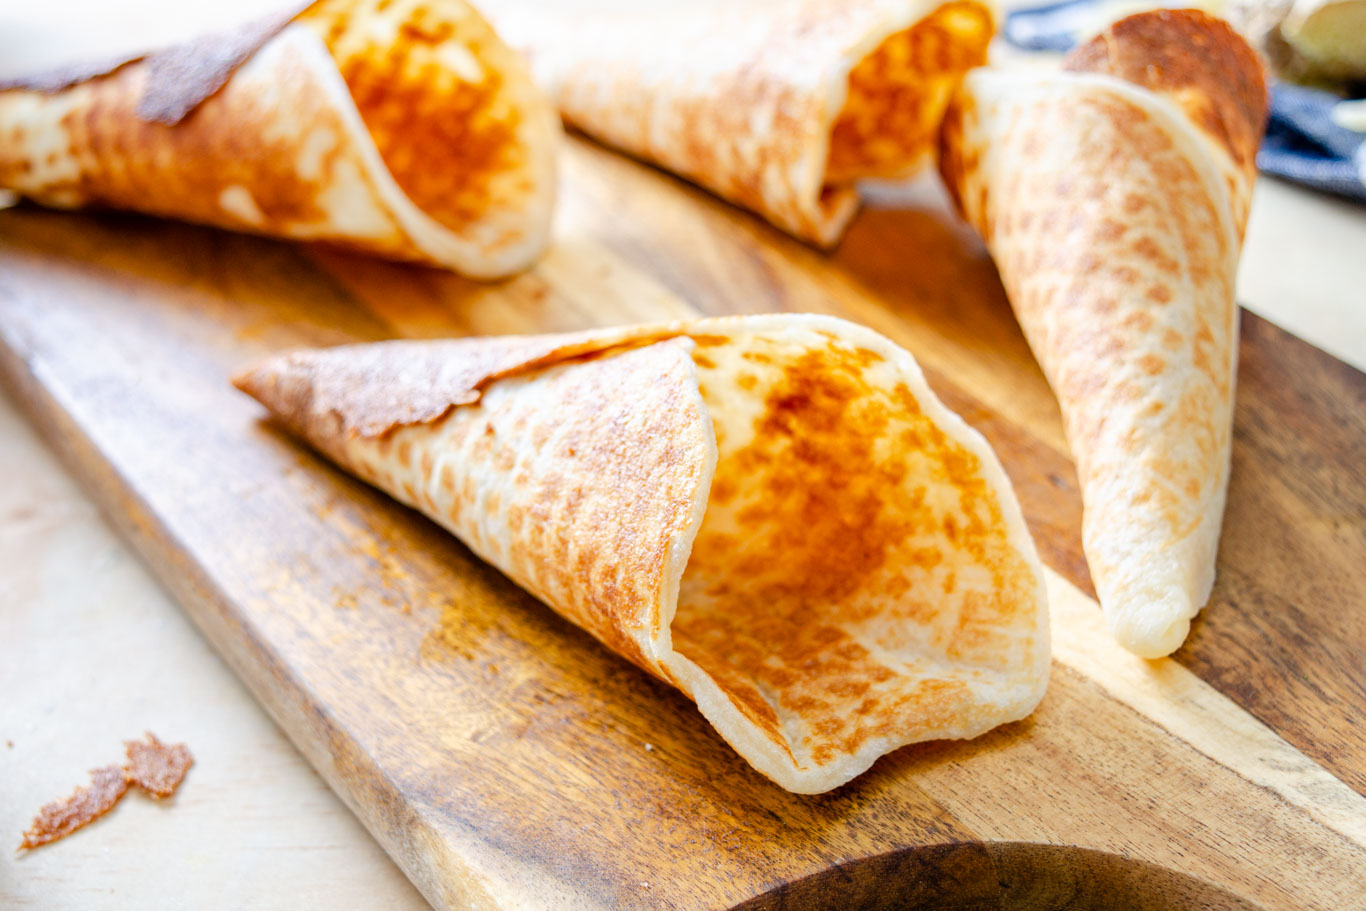
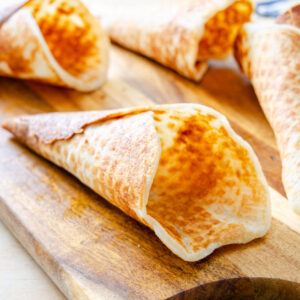
Slightly sweet, buttery, and with pure vanilla extract! These homemade gluten-free waffle cones are crunchy and capture everything you know and love about a freshly shaped waffle cone. From one bowl of batter, you can shape into waffle cones, bowls, or take two disks and make ice cream sandwiches.

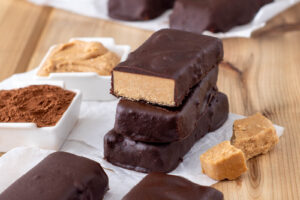
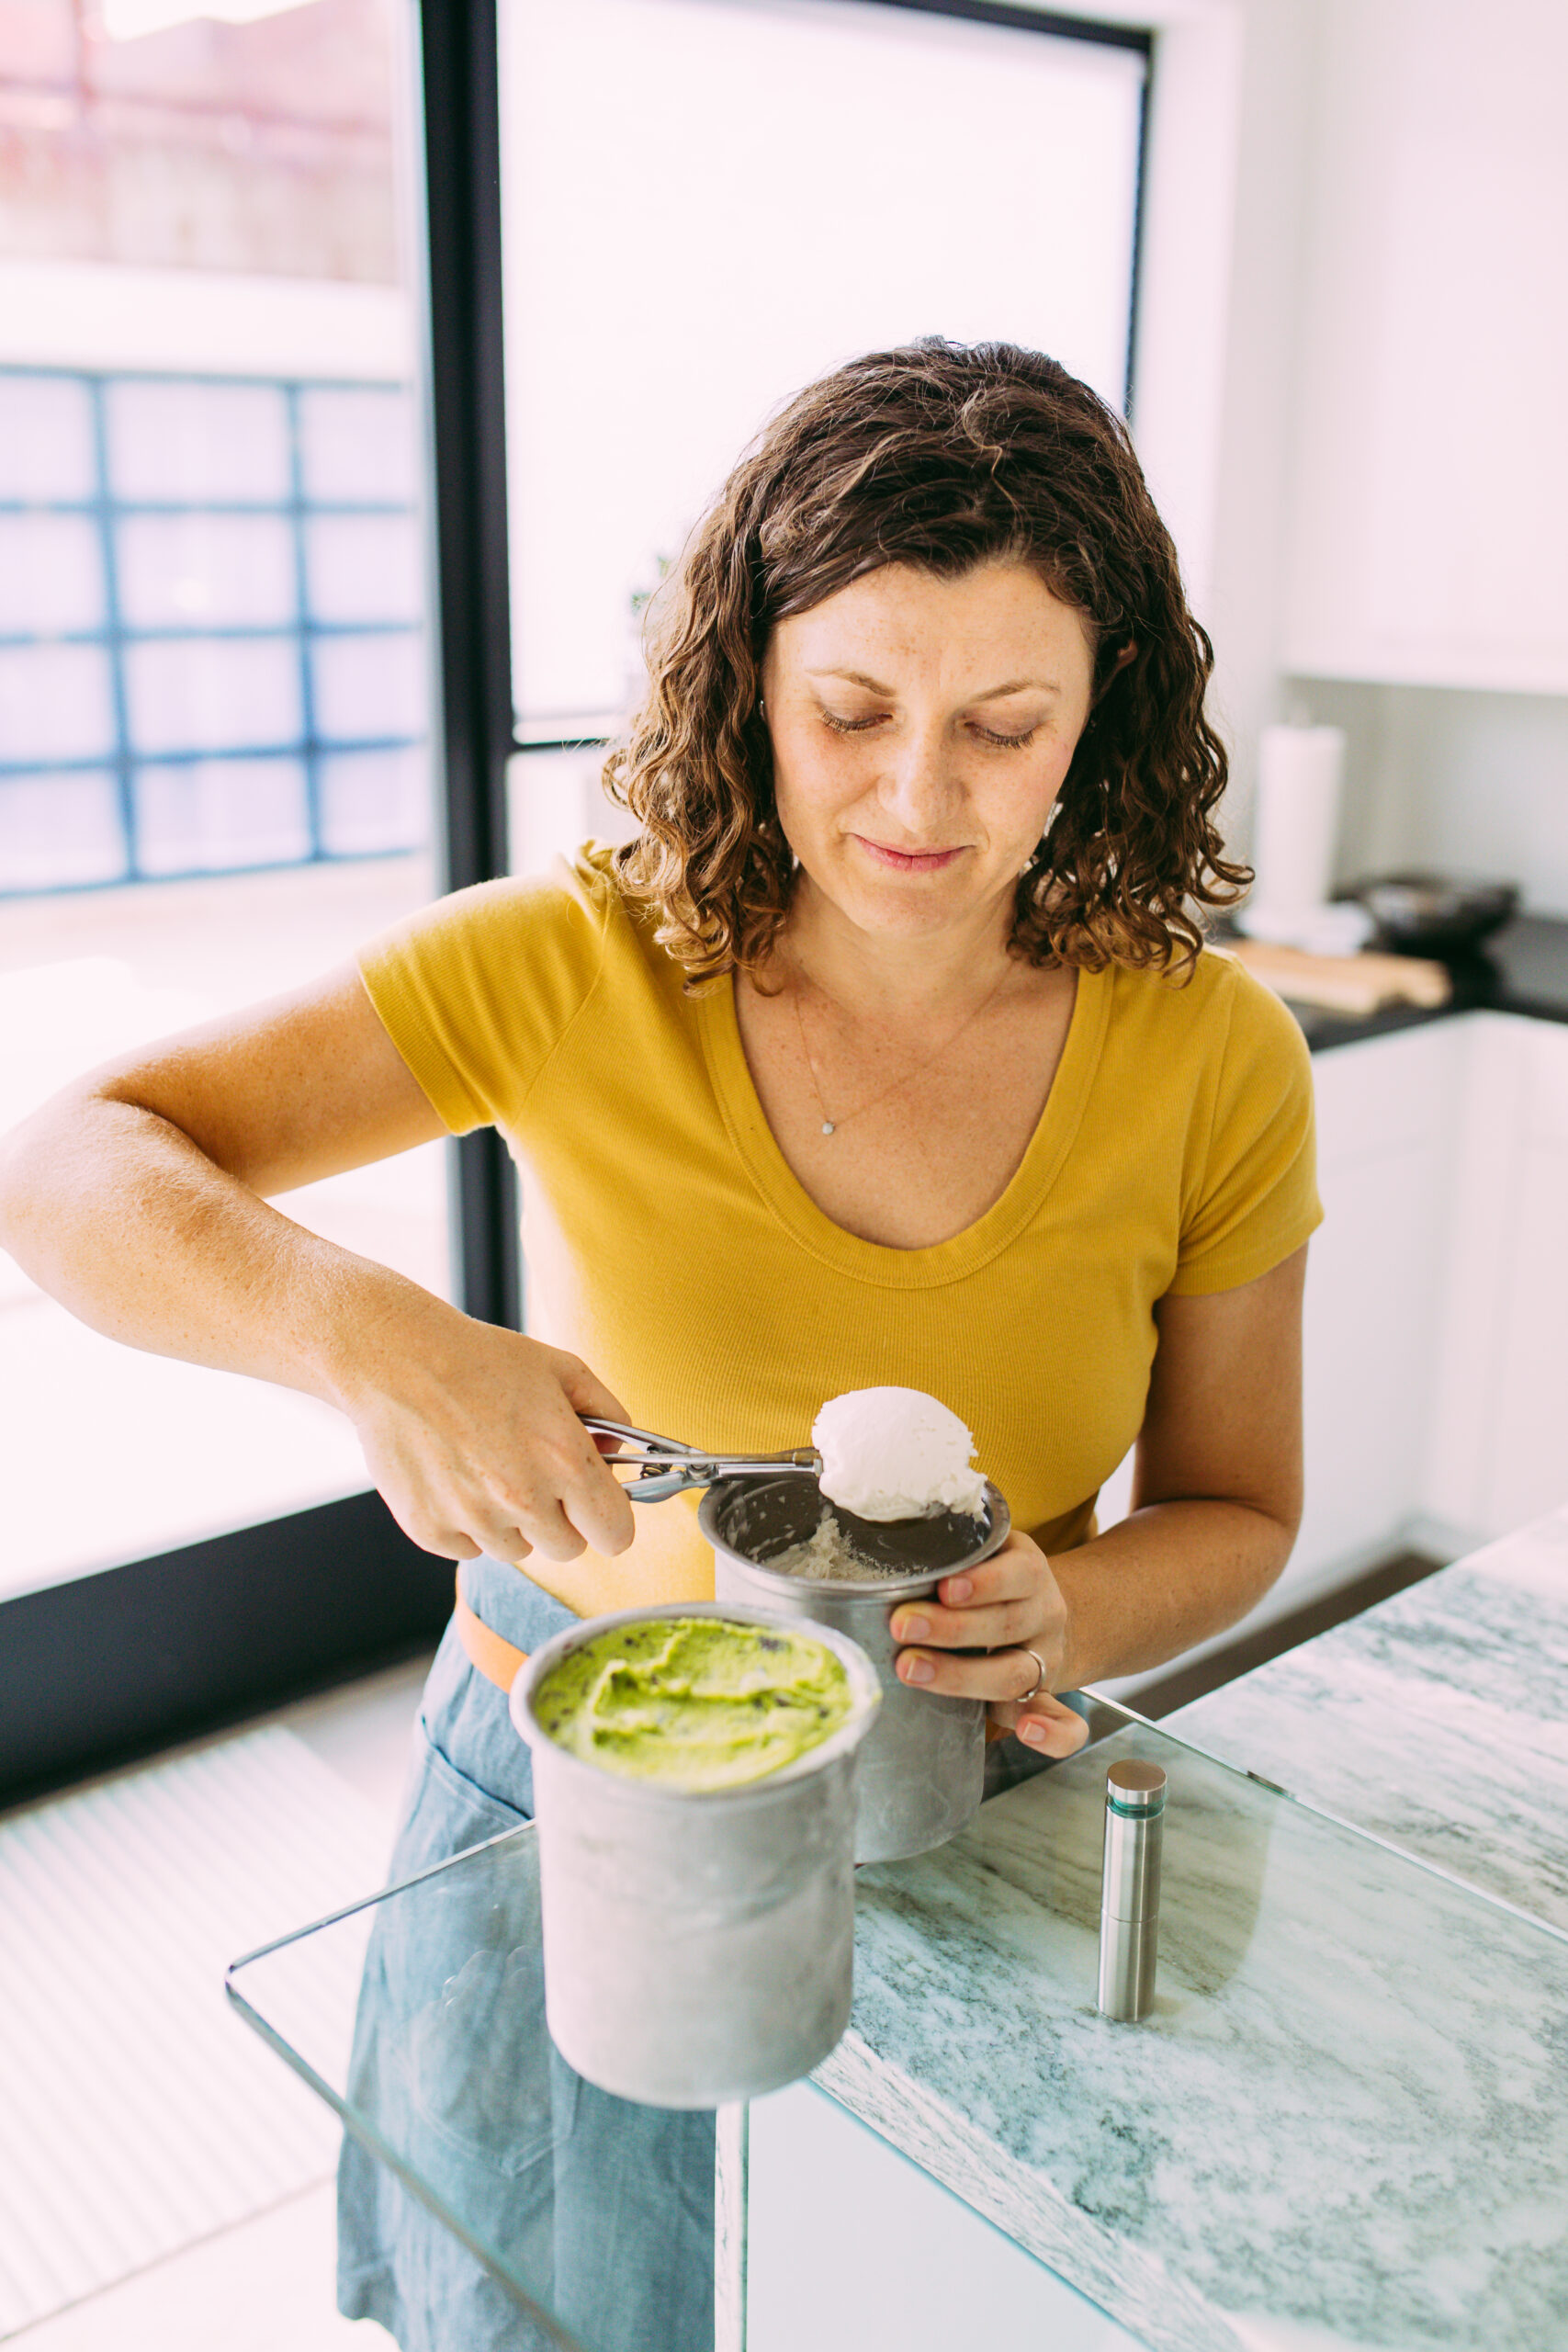
With kids in the house, we are a little ice cream obsessed around here. We’ve been churning batch after batch of lemon custard, salted caramel, and this fresh ginger ice cream (pictured throughout).

These cones have been a long time coming!
You can find decent ice cream in the store. That said, the cones are another matter. It’s maddening trying to buy flavorful ice cream cones; I’ve been on the hunt for a waffle or sugar cone that isn’t stale right out of the box for a decade.
It doesn’t exist (or if it does, I haven’t found it).
Cones don’t keep.
It’s a good idea to have ice cream cone ingredients because that way, you can whip up a batch of fresh cones in 15 minutes. Your homemade cones will keep for up to 3 days if you can protect them from moisture.
Why Gluten-Free Cones?
You may be wondering what’s up with the gluten-free flour. My husband has a gluten sensitivity and my culinary training is actually in the specialty diet realm. Bottom line, a tested and perfected gluten-free cone recipe has a ton of value to my family (and hopefully, yours too).
If you’re getting into gluten-free baking, I’m really proud of these gluten-free fudgy brownies (dairy free, too) and for something savory, there’s these gluten-free mini pizzas and these sushi and sashimi bowls.

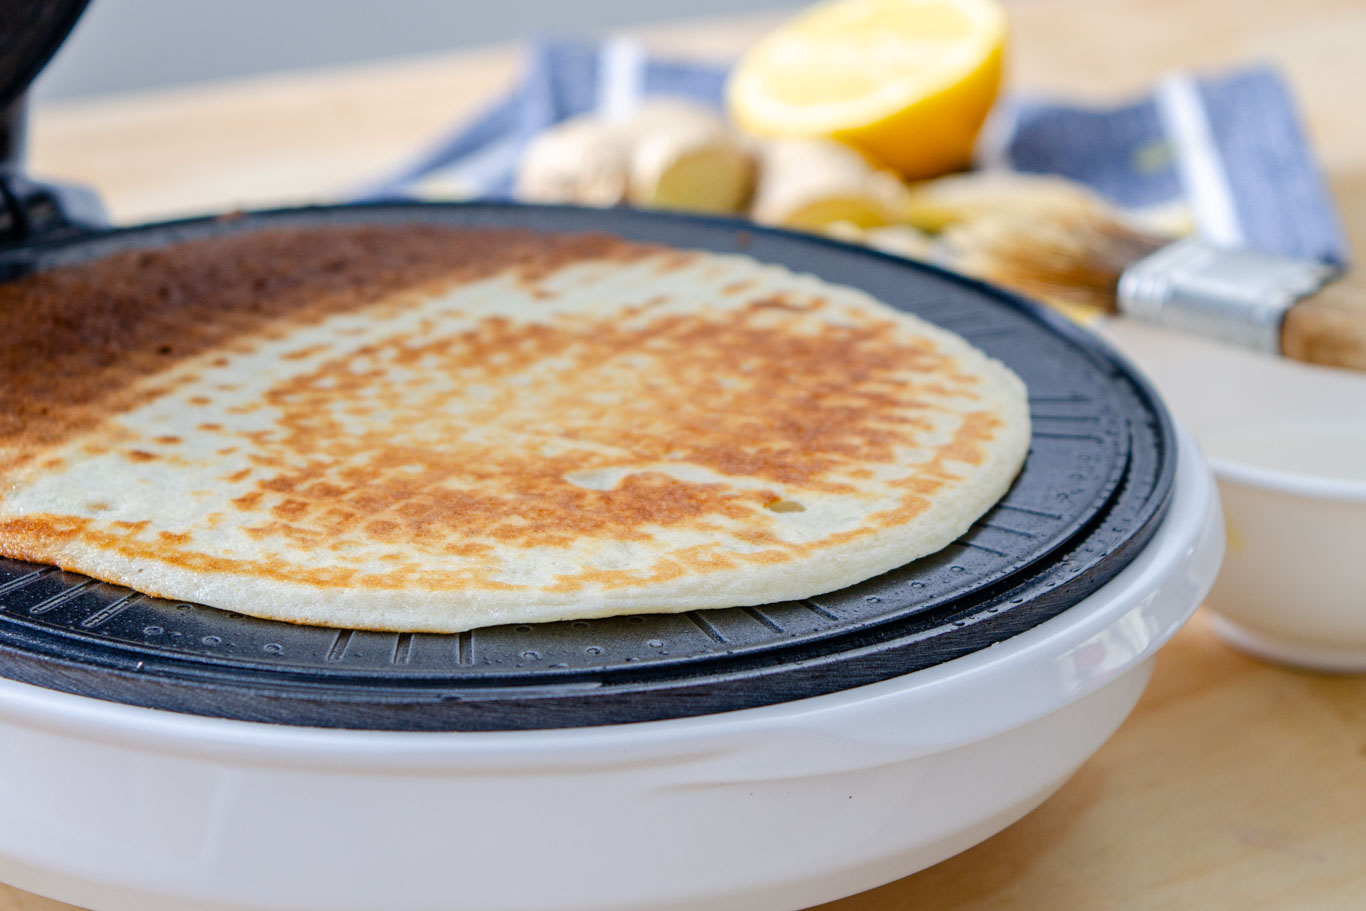
In case you are wondering, you can make these in a non-stick skillet, but I think it’s significantly easier to use a waffle iron to get the fun pattern like we did here.
Waffle Cone Ingredients:
- brown rice flour, particularly finely ground gf brown rice flour because it gives a great final texture
- tapioca flour (also called tapioca “starch”) may substitute arrowroot
- xanthan gum: a great binder for gluten-free bakes; important to fully incorporate into the dry ingredients with a whisk (it has a tendency to clump)
- sea salt: enhances the flavor of the cones
- granulated sugar: white or evaporated cane sugar; a bit of sweet in the batter not only tastes good but it is important to achieving a final crunch to the texture
- butter (salted or unsalted): adds a rich cookie-like richness and helps create a golden colored cone
- egg white: helps give enough pliability when shaping the cones
- vanilla extract: pure, high quality vanilla extract is best
- whole milk or low-fat milk will also work
- coconut oil or butter for greasing the pan; this just helps prevent sticking and makes it easier to clean your waffle iron
Gluten-Free Waffle Cones or Bowls
Ingredients
- 1/4 cup brown rice flour
- 1/4 cup tapioca flour (also called tapioca "starch") may substitute arrowroot
- 1/8 teaspoon xanthan gum
- 1 pinch sea salt
- 6 tablespoons granulated sugar
- 2 tablespoons unsalted butter melted and cooled
- 1 egg white at room temperature
- 1 teaspoon vanilla extract
- 2 to 4 tablespoons whole milk low-fat milk will also work
- coconut oil or butter for greasing the pan
Instructions
- Mix dry ingredients. In a bowl (preferably with a spout), whisk together the brown rice flour, tapioca, xanthan gum, salt, and sugar until incorporated.
- Form the batter. To the dry ingredient mixture, add the melted butter, vanilla, egg white, and 2 tablespoons milk. Whisk to form a smooth batter. Since you want the batter to remain pourable (but not too thin), you may need to continue to thin it out as it sits with milk 1 tablespoon at a time.
- Preheat a waffle iron (medium-low heat). Brush a waffle cone iron lightly with either coconut oil or butter. Pour or ladle approximately 3 tablespoons of batter at once. Close the lid and cook until golden, about 2 minutes.
- Remove and shape while warm. Using an offset spatula or a toothpick, carefully pry away the edges. Immediately roll into a cone shape being sure to keep the tip-end as small and tight as possible. You want to cinch the tip together while warm and hold in place for about 1-minute before transferring to a cooling rack. Repeat with the remaining batter and cones.Store cones in a non humid environment. They will stay crunchy for up to 3 days at room temperature in a sealed container or glass jar.
Video
Nutrition
Photography by Adam Rahman