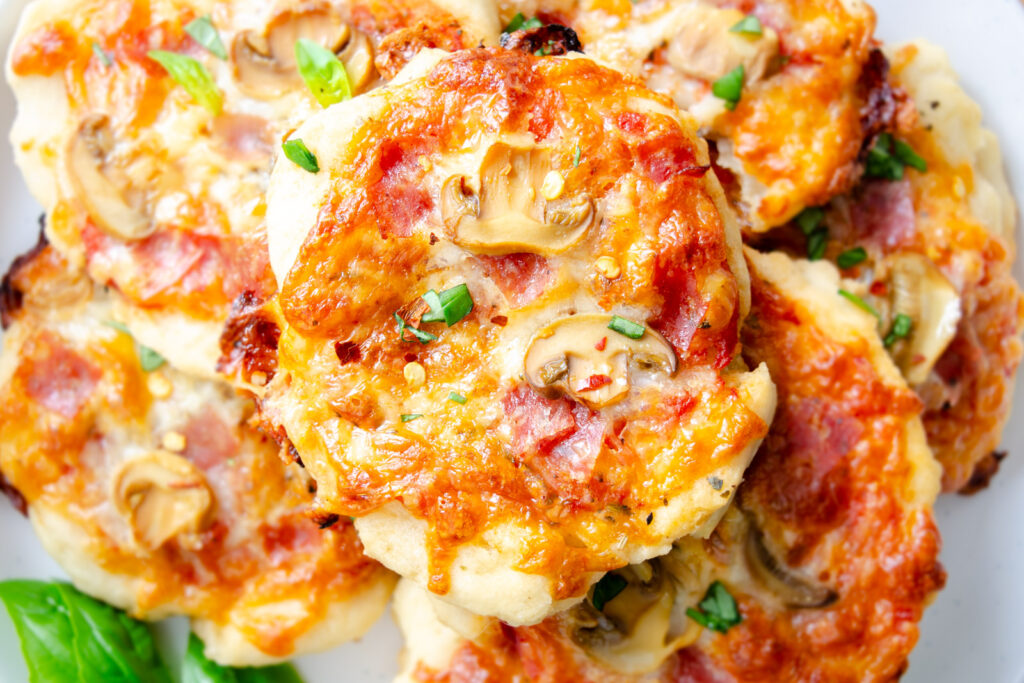
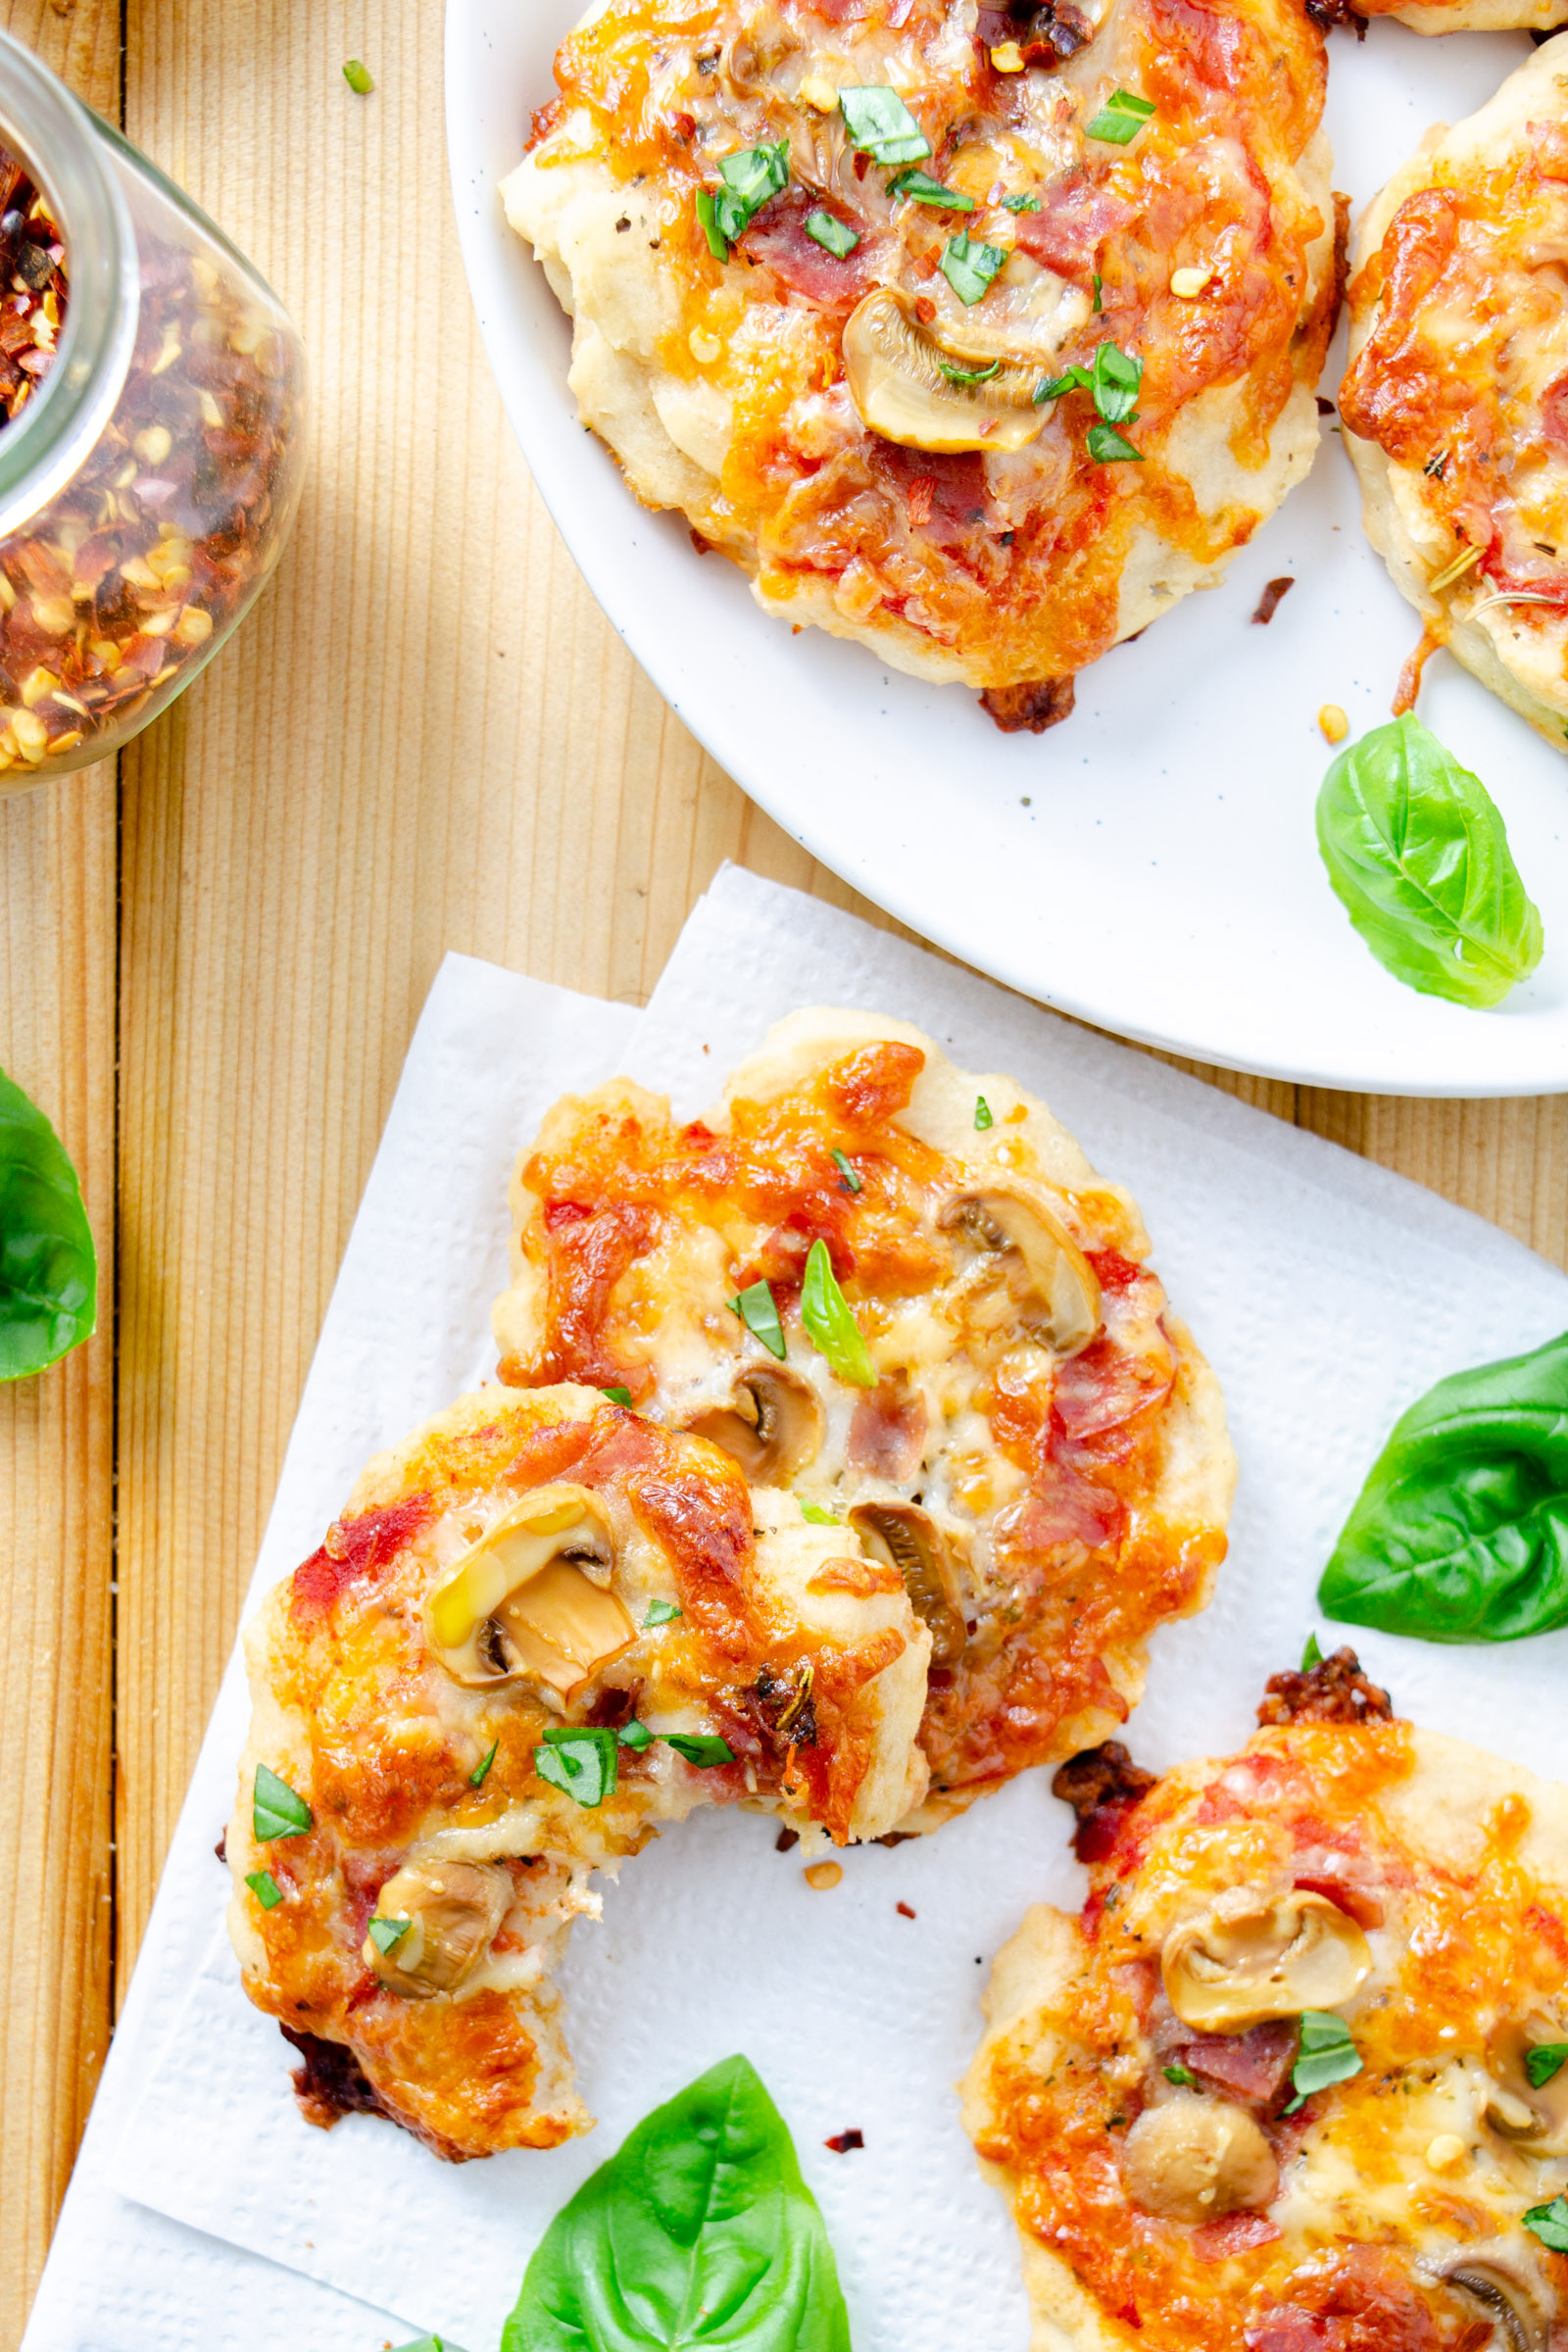
These gluten-free mini pizzas are so good to me.

Ravenous toddlers and infants gobble them up *silently*. Newly gluten-free husbands insist they are as good (if not better than) the local gluten-free pizza restaurant.
Oh, and they must be easy to make because I have made them more than any other recipe this year.
How to Save $ with Bulk Buys
Do you shop at Costco? These days, pretty cost conscious and set about creating this recipe to save money and keep pizza Fridays. Turns out, you can buy and freeze two giant bags of shredded mozzarella from Costco. Costco also now stocks a very decent gluten-free flour blend by a brand called Namaste.
And in case you don’t already know, canned Marzano tomatoes with a sprinkle of Italian seasoning make the world’s BEST pizza sauce (dramatic, I know, but true). You can even find the toppings at Costco; we like the canned mushrooms, salami, and basil pesto.
At the risk of sounding bossy, stock these ingredients and you will always have a dinner back-up plan when you need one. Definitely convenient, tasty, and staggeringly cheaper than eating out.

Gluten-Free Pizza Crust with Yeast
Let’s talk about this crust: It’s mellow in flavor and tastes best when slightly on the crispy side. Basically, just follow the recipe and you’ll be in gluten-free pizza heaven. You’ll get zero complaints.
Let’s talk about yeast: I am recommending active dry yeast in this recipe which gets combined with lukewarm water and sugar; in other words, you have to activate it. While you don’t have to allow your crust time to rise, if you like tiny airy bubbles, you really should be patient and wait. I’m patient about 50% of the time, and I always prefer the crust best when I let it rise.
How to Make Mini Gluten-Free Pizzas – Step by Step Process
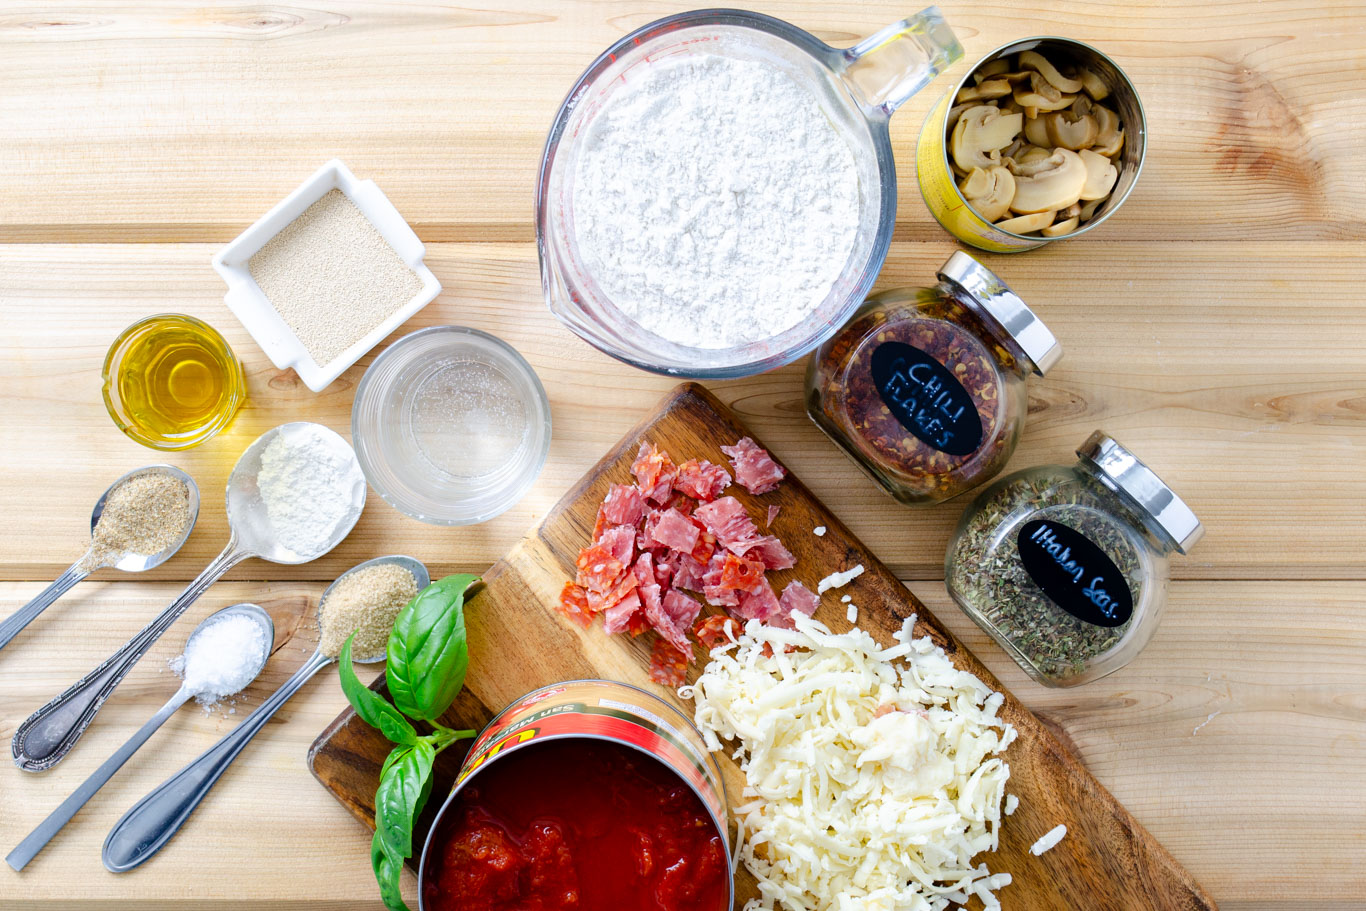
Gluten-Free Pizza Crust Ingredients:
- extra virgin olive oil is one of the key ingredients for making pizza dough; for flavor and texture
- coconut sugar or honey for the yeast. Feel free to substitute granulated white sugar if that’s what you have.
- active dry yeast
- gluten-free flour: You can use your own bread flour blend or use something like a cup-for-cup all-purpose blend. I like Namaste 1:1 Perfect Flour Blend but we also tested Robin Hood Gluten-Free Flour Blend and it worked well, too. If you try your own homemade blend, feel free to share in the community chat below.
- xanthan gum optional but I like to leave it in because it makes the dough slightly more elastic and easier to spread; you can find xanthan gum (online) in the baking aisle and it’s one of those ingredients that has a long shelf life, so don’t worry about buying it in bulk if you plan on regularly baking gluten-free.
- fennel seed: ground fennel seed is an optional spice that will remind you of the flavor of sausage. Feel free to leave it out, if you desire.
- salt is for enhancing the flavor of the crust. I like sea salt and Kosher salt.
- egg optional–makes for a softer pizza crust–note: I prefer a crispier crust and leave the egg out
Topping Ingredients:
Feel free to use whatever toppings you’d like. These are my favorites:
- Canned san Marzano peeled tomatoes: I like to simply use my fingers to crush the large pieces of tomatoes as I’m topping the pizzas and then use a spoon to get the liquid sauce directly from the can. You won’t believe the flavor of this simple sauce!
- Italian seasoning completes the flavor of the sauce (just a sprinkle per pizza).
- Mozzarella cheese low moisture part-skim shredded: I like to do a thin layer from edge to edge.
- Salami thin sliced such as Genoa, cut into small squares: I sometimes favor salami over pepperoni but feel free to use whatever you like.
- mushroom slices can be fresh or canned; feel free to substitute black olives if you prefer!
- Fresh basil leaves thinly sliced adds something fresh in flavor and color.
- Red chile flakes for serving, if you don’t mind a little heat.

To activate your yeast, be sure to use warm water (below 110F). Bubbles are an indication that the yeast mixture is ready to use.
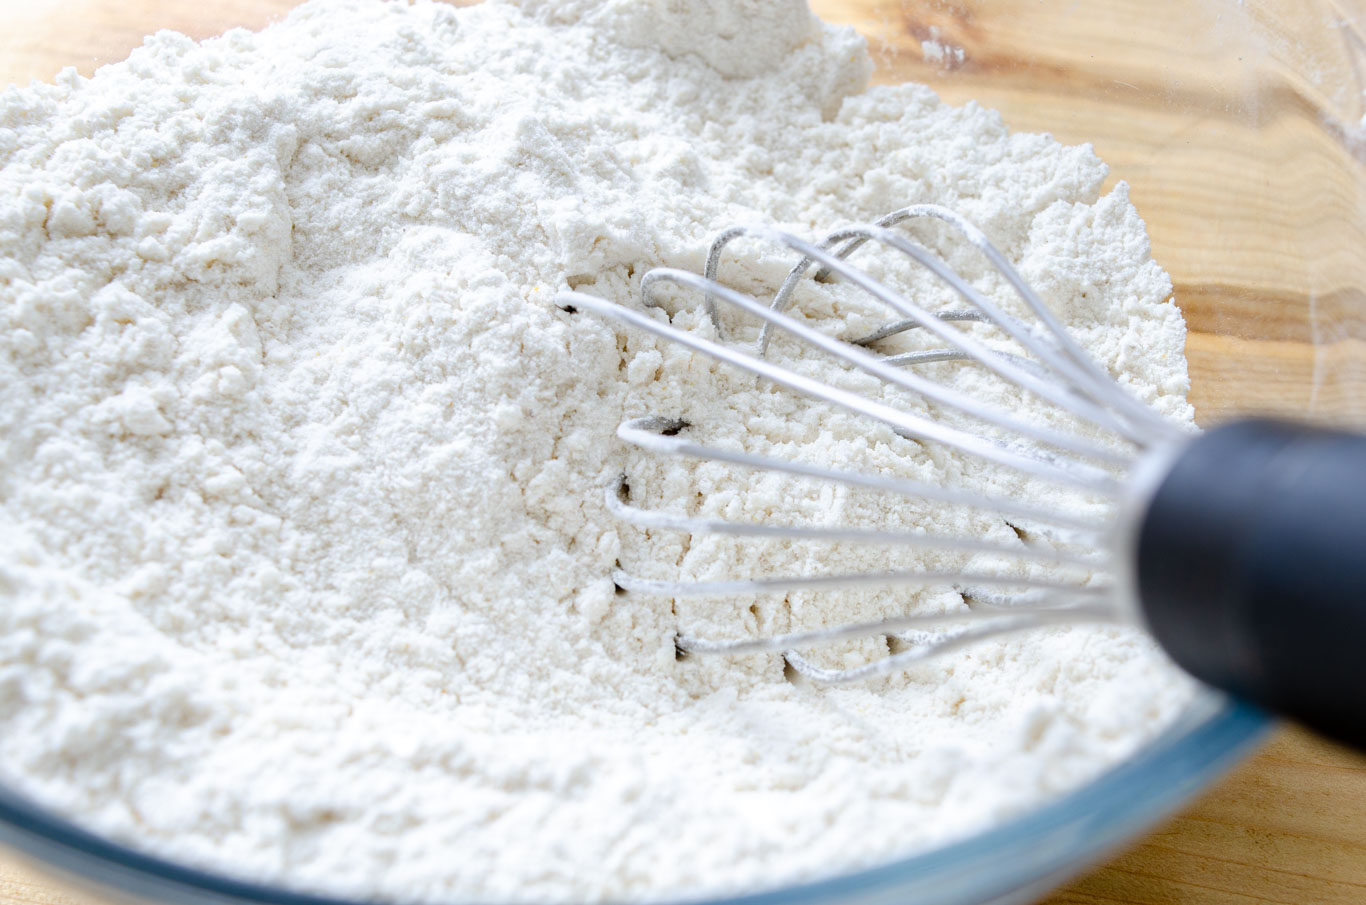

Whisk your gluten-free flour with the xanthan gum then combine with yeast mixture, salt, and olive oil to form a thick paste (pictured above).

Using the back of a spoon, you can smooth the batter to form flat, disks approximately 1/4-inch thick. Be sure to do this step on top of parchment paper so the pizzas hold together while they bake.
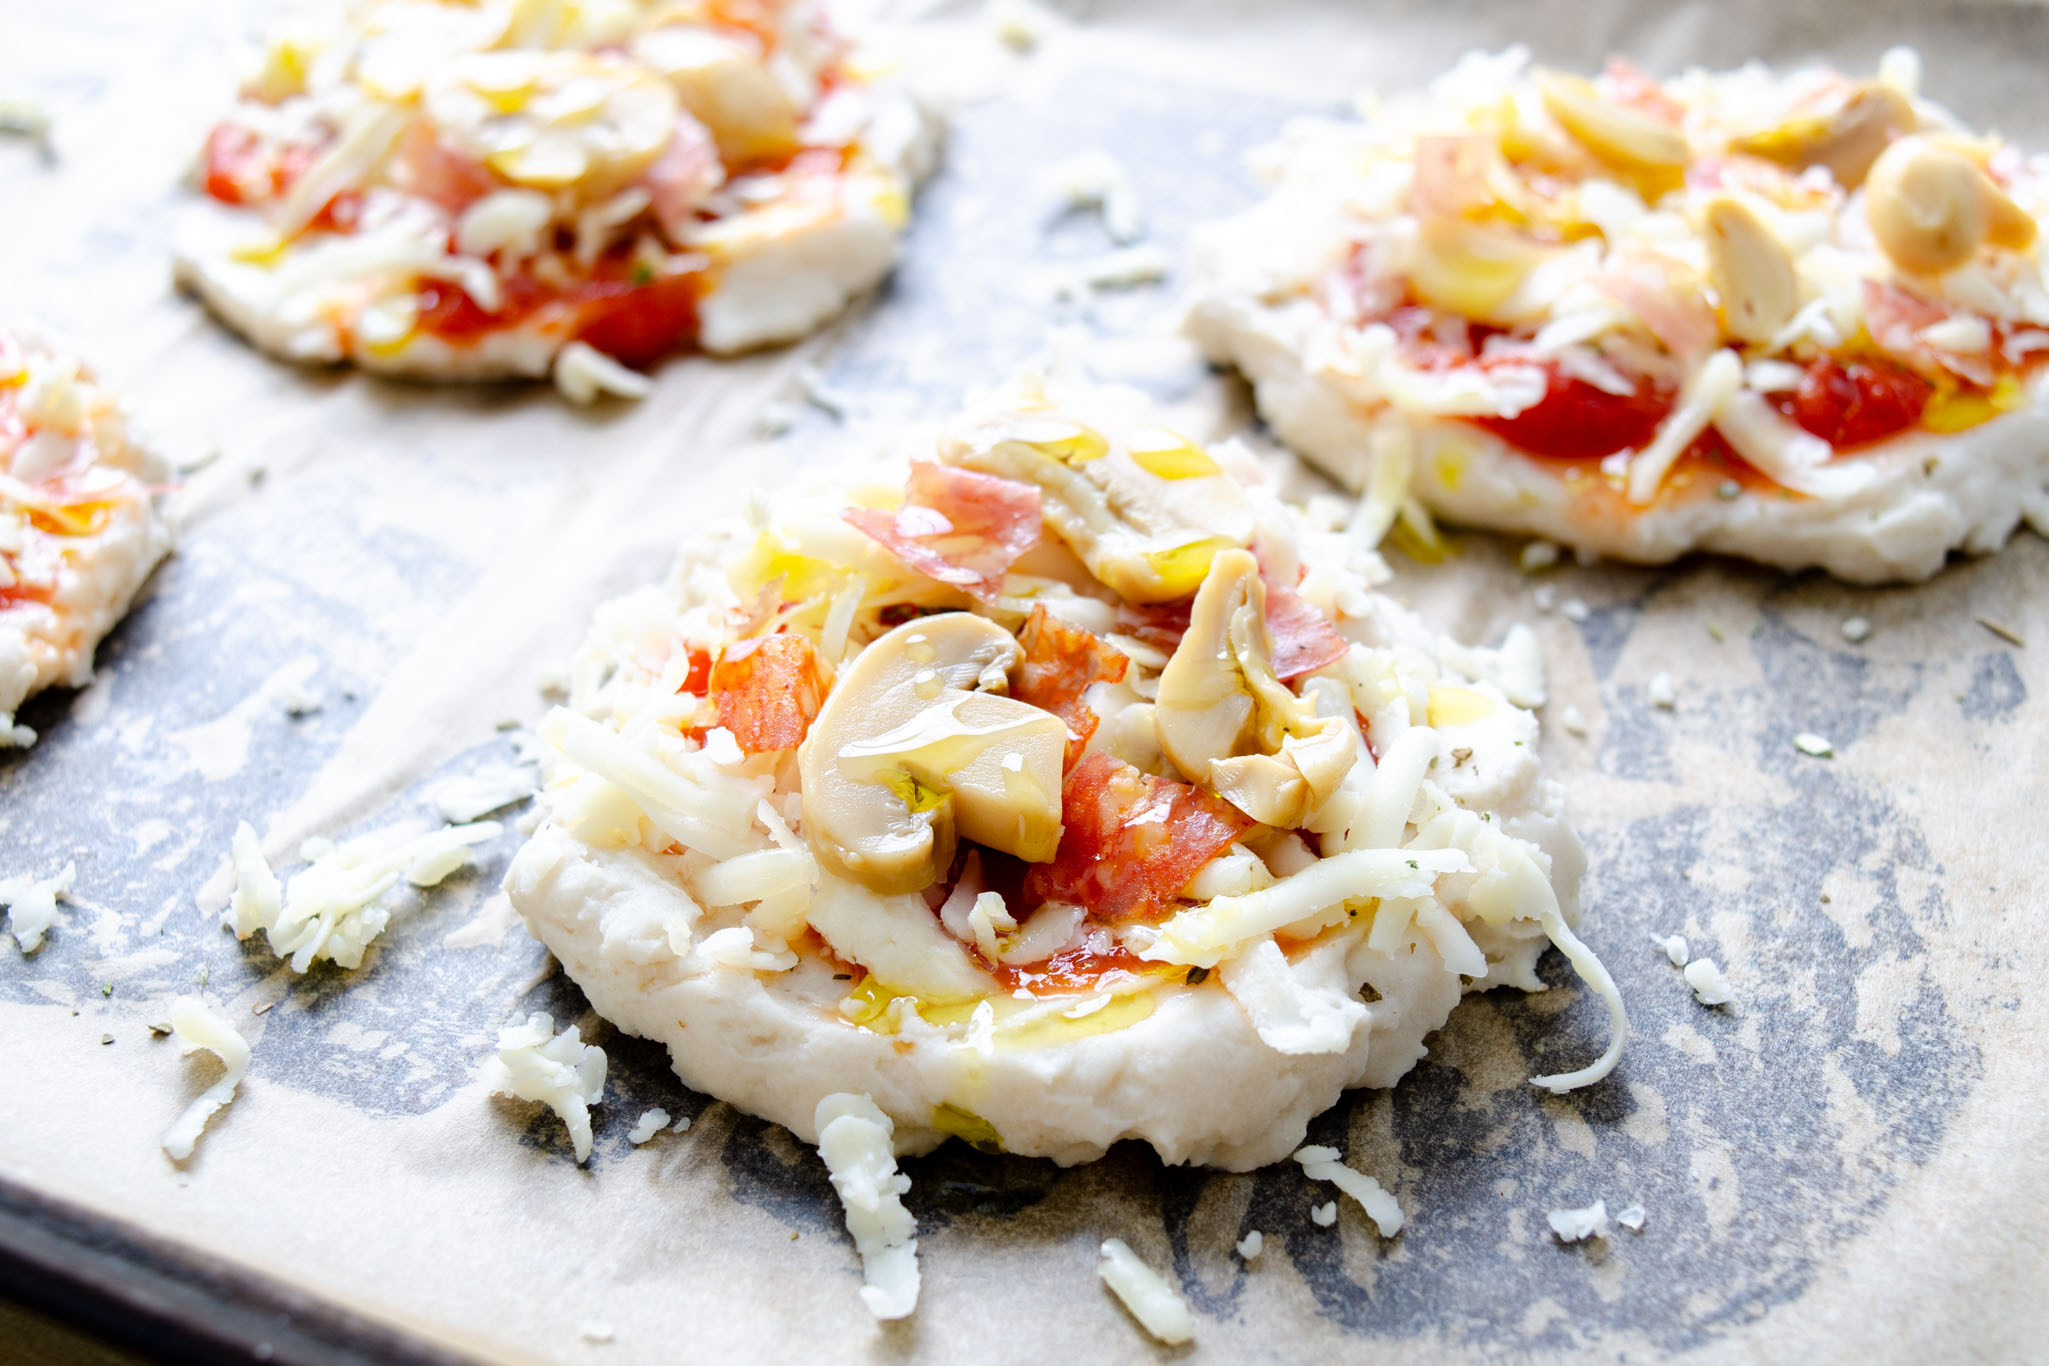
Technique Tip: Keep the toppings light. You don’t want to overload your pizzas because then the crust won’t get as crispy.
Variation Instructions and Inspiration
Deep dish style: You can line a cast iron skillet with parchment paper and spread the batter on the bottom and up the sides. Partially bake for 20 minutes, then add your toppings: sauce, cheese, etc. Bake another 20 minutes, then slice and serve your pizza pie. This recipe yields 1 deep-dish pizza.
Large size thin crust pizzas: You don’t have to make 3-inch miniature pizzas. You can spread your crust out as far as you like (this recipe yields two large thin crust pizzas) as long as you remember to do everything on top of parchment paper on a tray. It’s easier to transfer a tray with a large pizza into the oven than it is to try and move the pizza.
Toppings: thinly sliced ham, pineapple, jalapeno, barbecue sauce, barbecued pulled pork, sausage, peppers, onion, roasted garlic, artichoke hearts, banana peppers, parmesan, buffalo mozzarella, basil pesto, shredded Rotisserie chicken.
So what toppings have you tried? If you like a gluten-free flour, please share your favorite blends in the comments below. We’d love to hear from you!
The Frayed Apron is committed to making recipes that work for you! Every recipe is tested and perfected on this site:
Gluten free mini pizzas – Recipe worked pretty much exactly as you described it would. I used Robin Hood gluten free flour, no egg, and for the sauce I lightly crushed the San Marzano with a potato masher in the can.
Adam Rahman, Recipe Tester and Photographer
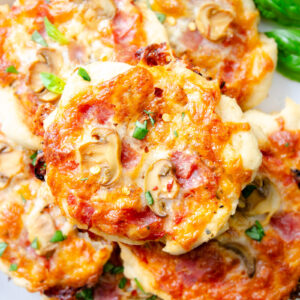
GLUTEN-FREE MINI PIZZAS
Ingredients
- 2 tablespoons extra virgin olive oil for greasing sheet trays
- 1 teaspoon coconut sugar or honey
- 1 cup lukewarm water 105F
- 2 ¼ teaspoons (1 packet) active dry yeast
- 1 ½ cups gluten-free flour favorite brand: Namaste 1:1 Perfect Flour Blend
- 1 ½ teaspoons xanthan gum optional but I like to leave it in because it makes the dough slightly more elastic and easier to spread
- 1 teaspoon fennel seed optional
- ½ teaspoon salt
- *1 egg optional–makes for a softer pizza crust–note: I prefer a crispier crust and leave the egg out
- 3 tablespoons olive oil divided
- Toppings:
- Canned san Marzano peeled tomatoes
- Italian seasoning
- Mozzarella cheese low moisture part-skim shredded
- Salami thin sliced such as Genoa, cut into small squares
- 1 can mushroom slices drained
- Fresh basil leaves thinly sliced
- Red chile flakes for serving
Instructions
- Lightly coat 2 half-sheet trays with olive oil and line with parchment paper*.
- In a small bowl, dissolve the sweetener of choice in water and add yeast. Wait until you see bubbles, about 5 to 10 minutes.
- In a separate bowl, whisk together gluten-free flour, xanthan gum, fennel, and salt. Combine flour mixture with bubbly yeast mixture. Stir briefly to combine. Add egg (if using) along with 1 tablespoon of oil. Stir to form a thick, creamy paste.
- Spoon batter onto cookie sheet lined with parchment paper to form 6, 3-inch pizzas: With circular motion, spread each circle out with back of spoon to about 3 inches in diameter. Thinner cooks better so get that crust as thin as you can.
- Cover with inverted baking pan and let rise 40-45 minutes. Note: You can skip this step and cook right away but I think the flavor and texture of the dough is lighter, airier, crisper, and more flavorful if you wait.
- Preheat oven to 375° F.
- Top each mini pizza with a thin layer of tomato sauce from the can (as in the sauce and any whole tomatoes that you sort of smash or tear up real small), a pinch of Italian seasoning, mozzarella cheese spread all the way to the outer edges (I love the way it crisps on the outside), salami, and mushroom slices.
- Dribble remaining oil over each mini pizza.
- Bake for 25 to 30 minutes or until slightly browned. Best served warm with fresh basil and red chile flakes.
Video
Notes
Nutrition
Photography by Adam Rahman


Can these be frozen and reheated?
Yes. To Freeze: Place the crust only on parchment paper and bake to partially cook for approximately 7 minutes in the oven at 450F. This will give you some stability to place your toppings. Wrap with plastic wrap (3 layers is a good idea) to prevent freezer burn. Freeze for up to 3 months. Reheat directly from frozen in the oven at 450F for approximately 15 minutes or until the cheese melts and the toppings begin to caramelize slightly. Enjoy!!!!